

There are a lot of great cinnamon roll recipes out there, even several gluten-free versions, but I could never find one I loved. I only crave cinnamon rolls about twice a year, but I know what I like.
I tried to simplify this recipe as much as possible, but there’s no getting around the fact that making cinnamon rolls from scratch requires a lot of time. I’m not much of a baker (it’s more of a science; not my strong suit), so I needed a foolproof recipe that doesn’t leave much room for error. I wanted a no-fail method for proofing the dough, and I wanted lots of cinnamon filling. I don’t need dozens of cinnamon rolls – one dozen is plenty. But I do need cream cheese icing, light(ish) on the sugar and heavy on the cheese. That is non-negotiable.


I had trouble finding a recipe for gluten-free cinnamon rolls that checked all my boxes, so I adapted the best parts of several other recipes to make my own. It’s a great recipe to make on the holidays, and it’s even easier if you make the dough the night before. I like to refrigerate it after the first rise and roll it the next morning.
Working with gluten-free dough
The key to working with gluten-free dough is to be patient and gentle. Because gluten lends dough its elasticity, gluten-free dough tends to fall apart easily. This dough is quite sticky, so coating your work surface and hands with a little neutral oil (like Canola), butter or nonstick spray works wonders.
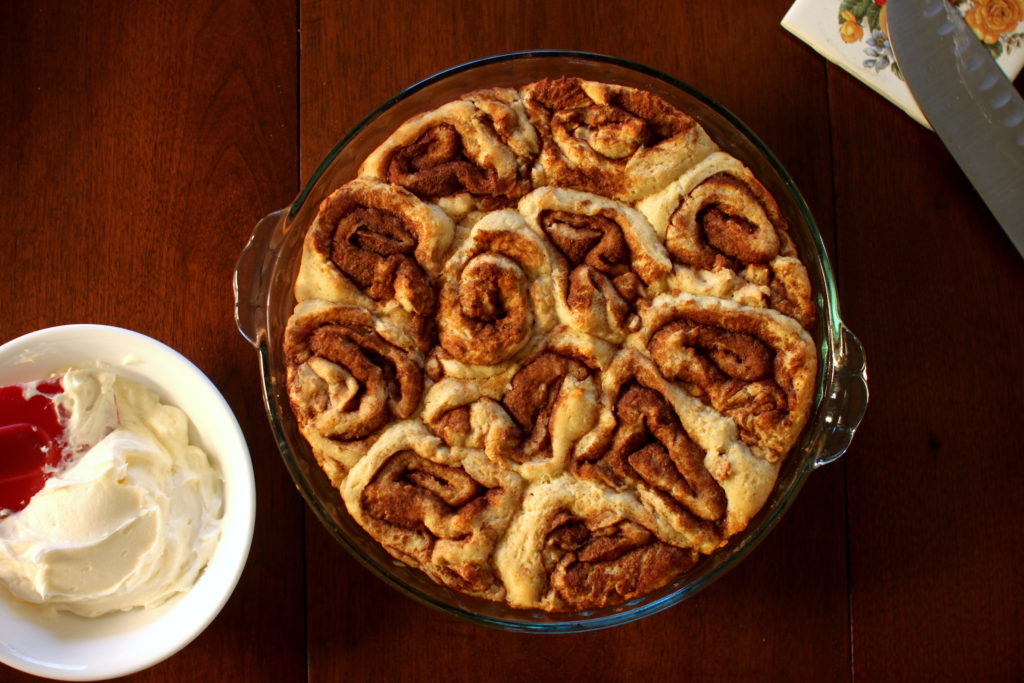
Once you’ve spread your dough to the proper size and layered on the butter and cinnamon-sugar mixture, be sure to roll up the dough tightly. I forgot about this crucial step when I made these last, and the rolls weren’t as pretty as I had hoped.

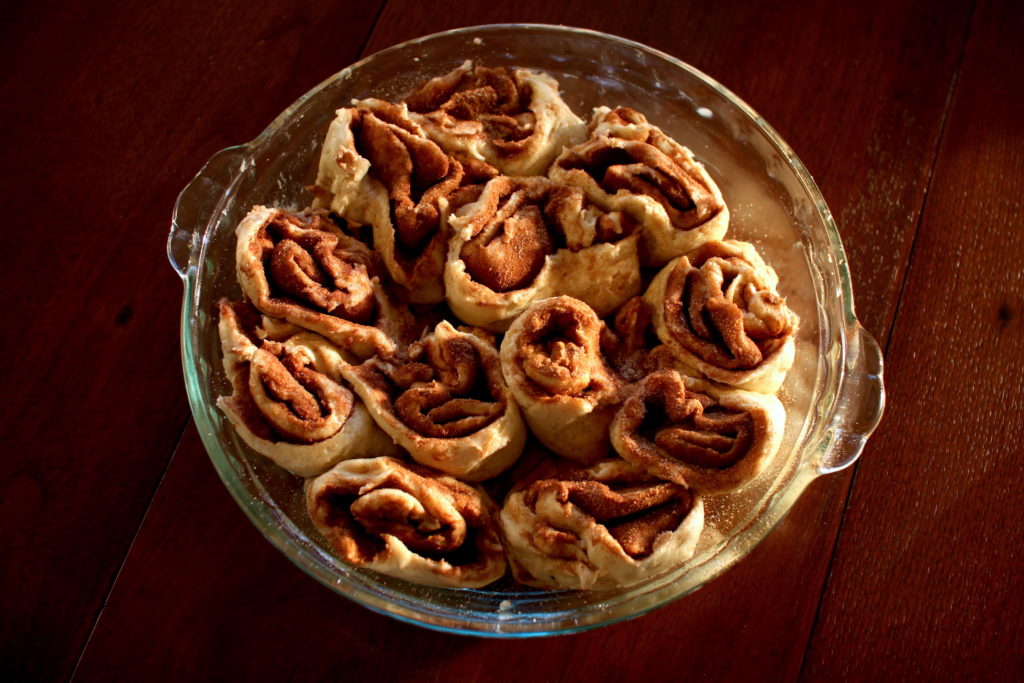
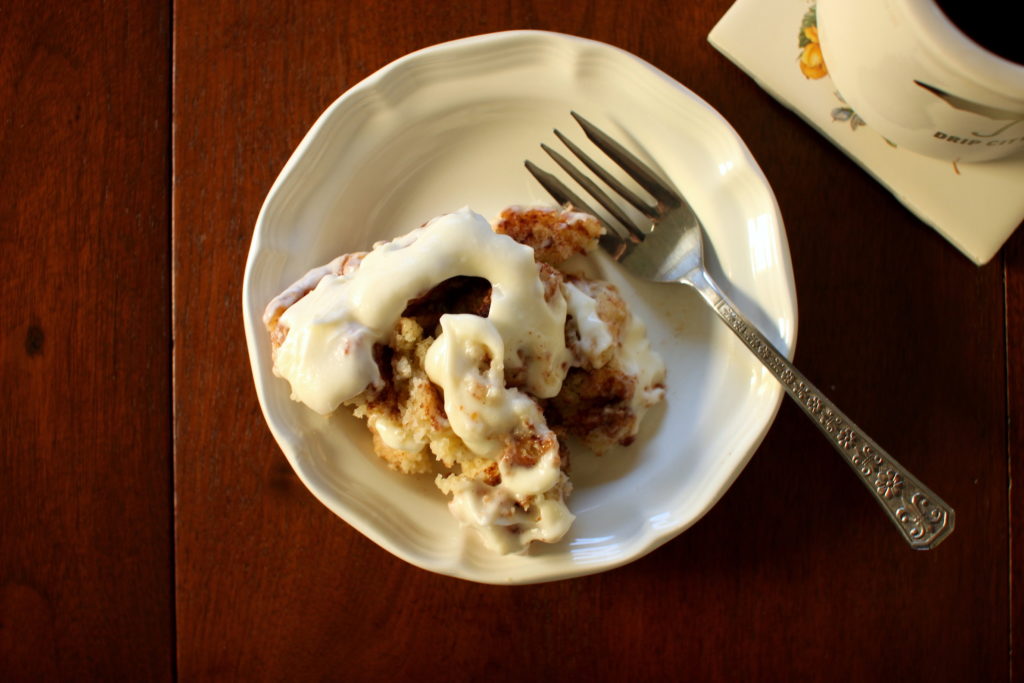
But these gluten-free cinnamon rolls are resilient, and even if they don’t look great, they will taste delicious. Try them on Christmas morning with my spiked chili pepper hot chocolate, or after a serving of chorizo breakfast casserole. They’re also perfect with a hot cup of coffee. Enjoy!
Gluten-Free Cinnamon Rolls
Ingredients
For the dough
- ¼ cup butter
- 1 cup whole milk
- 1 tablespoon + 1/3 cup sugar
- 2 ¼ teaspoons active dry yeast (1 packet)
- 1 large egg, whisked
- 2 ½ cups gluten-free 1:1 baking flour (the mix should include xanthan gum – I use Bob’s Red Mill)
- 2 teaspoons baking powder
- ¼ teaspoon salt
For the filling
- ½ cup sugar
- 2 tablespoons ground cinnamon
- ⅓ cup butter, softened
For the icing
- 8 ounces cream cheese, well softened
- ¾ cup powdered sugar
- ½ teaspoon vanilla
Instructions
- Before you start: Check the dates on your baking powder and yeast. These can ruin your recipe if they’re expired.
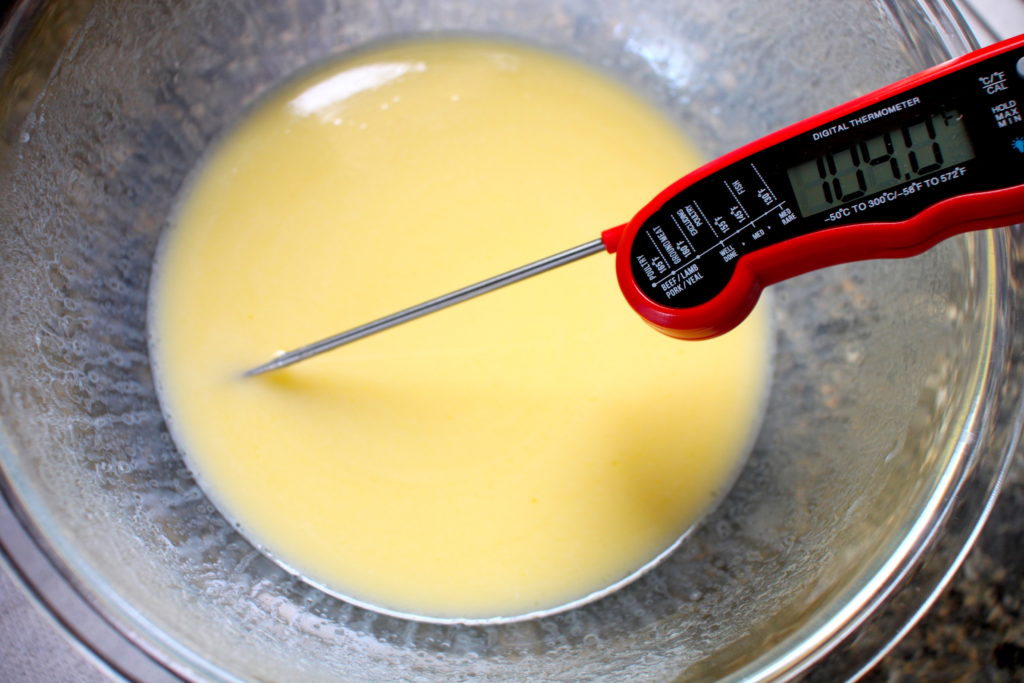
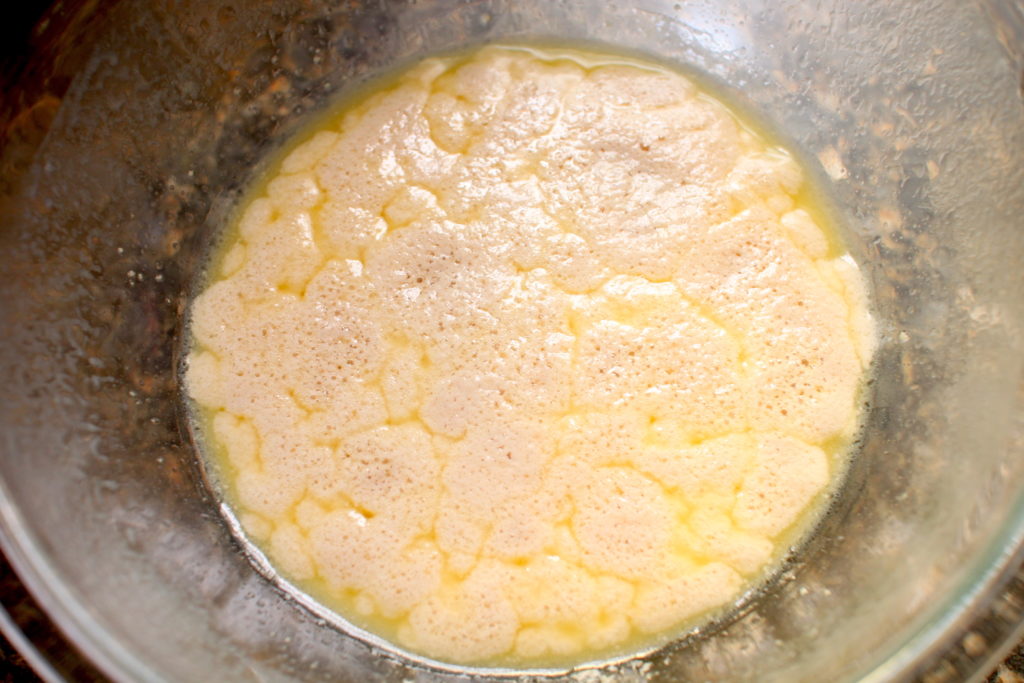
- For the dough, heat milk, butter and 1 tablespoon sugar in a saucepan over medium heat until the liquid is warm and well combined. (Be sure not to let it boil.) Pour into large glass bowl, set aside and cool until just warm, not hot (about 100ºF). You can stick it in the fridge to speed up the process. Once cooled, sprinkle in yeast, stir gently and let sit 10-15 minutes. It should be nice and foamy. (Not foaming? See note.)
- In medium bowl, whisk egg with remaining ⅓ cup sugar, then add to yeast mixture.
- Put 3 cups water on to boil in a kettle or saucepan. This will be used to ensure the rolls rise well.
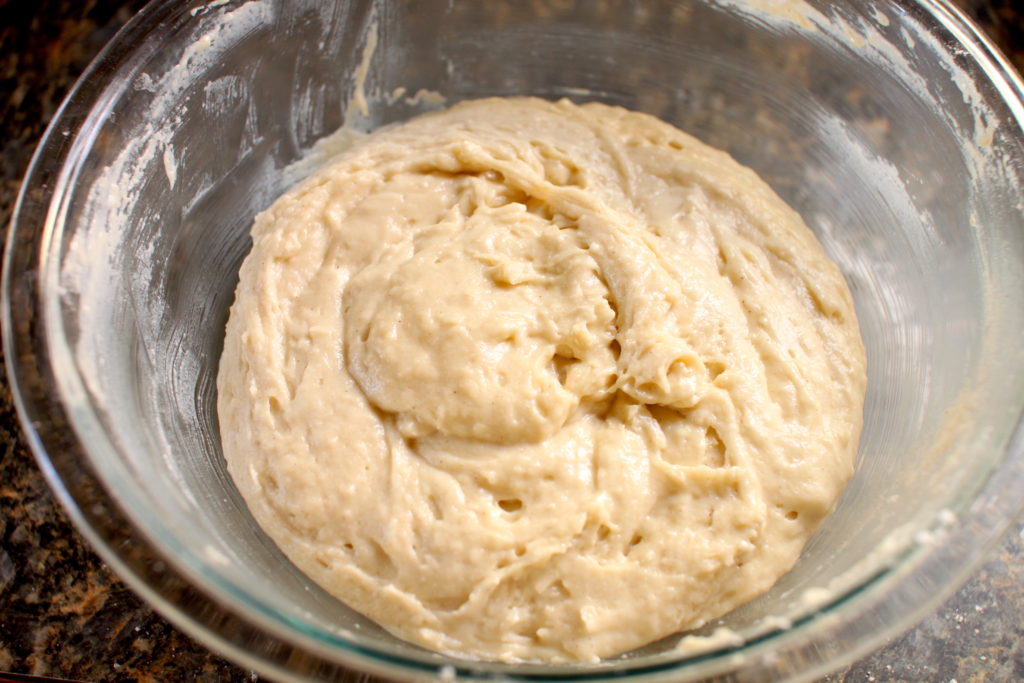
- Meanwhile, in large bowl, whisk dry ingredients together: Combine flour, baking powder and salt. Add dry mixture to wet mixture in two or three batches, stirring well each time. A few small lumps here or there is okay.
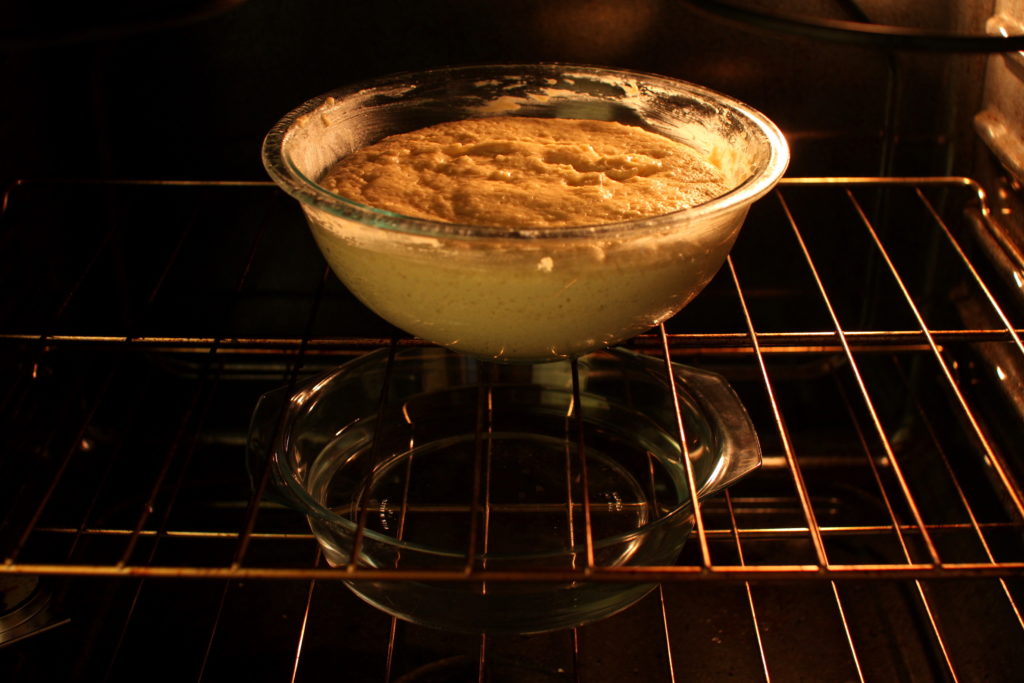
- Next, scrape the sides of the bowl to form a nice big lump in the bottom of your glass bowl. Now it’s proving time! Place your glass bowl in the oven on the middle rack. Don’t turn on your oven. Fill a pie or casserole dish with the boiling water, place it under your bowl and close the oven door. Replace the water with fresh boiling water after 30 minutes. Otherwise, leave the door closed and allow the dough to prove for 1 hour total. Dough should rise to twice its size over the course of an hour. At this point, you could cover the dough and store it in the fridge for up to three days until you’re ready to roll it out.
- Now, prep your filling: Combine sugar and cinnamon in a bowl and set aside. Grease a 9-inch pie pan and set that aside, too.
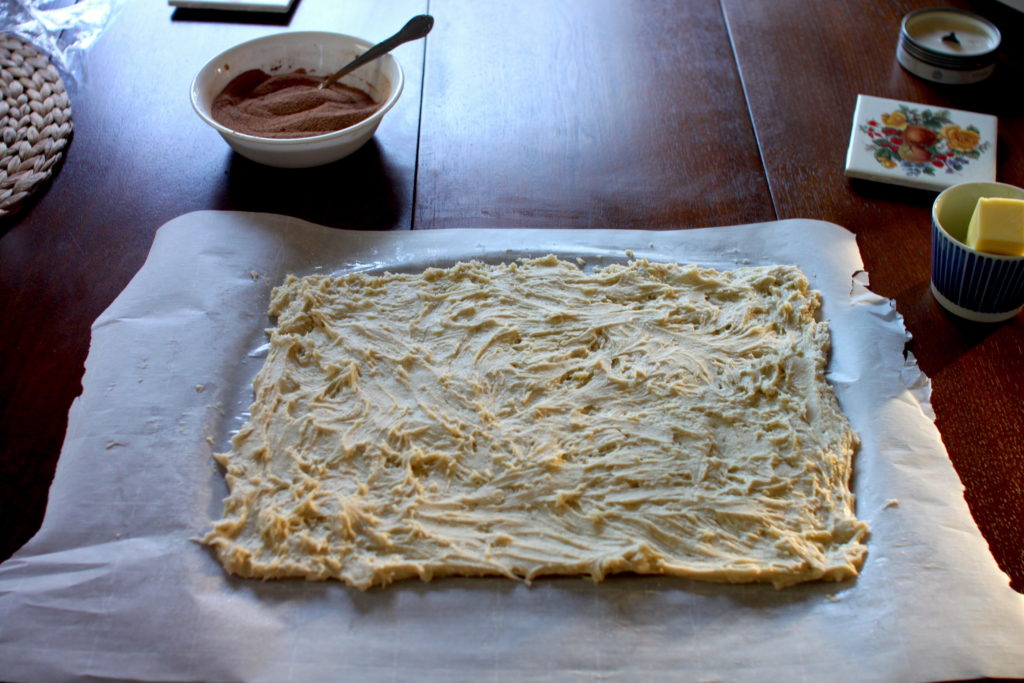
- Place a large sheet of parchment paper on a work surface and spray it with nonstick. Scrape the dough onto the paper, and with oiled hands or an oiled rolling pin (I find it easier to use my hands), carefully spread the dough into a 10”x14” rectangle, about ¼” thick. The dough will likely be very sticky. Don’t worry, just take your time and take care not to press it too thin.
- Use your fingers to spread the softened butter evenly across the dough, then sprinkle the cinnamon-sugar mixture evenly on top of the butter.
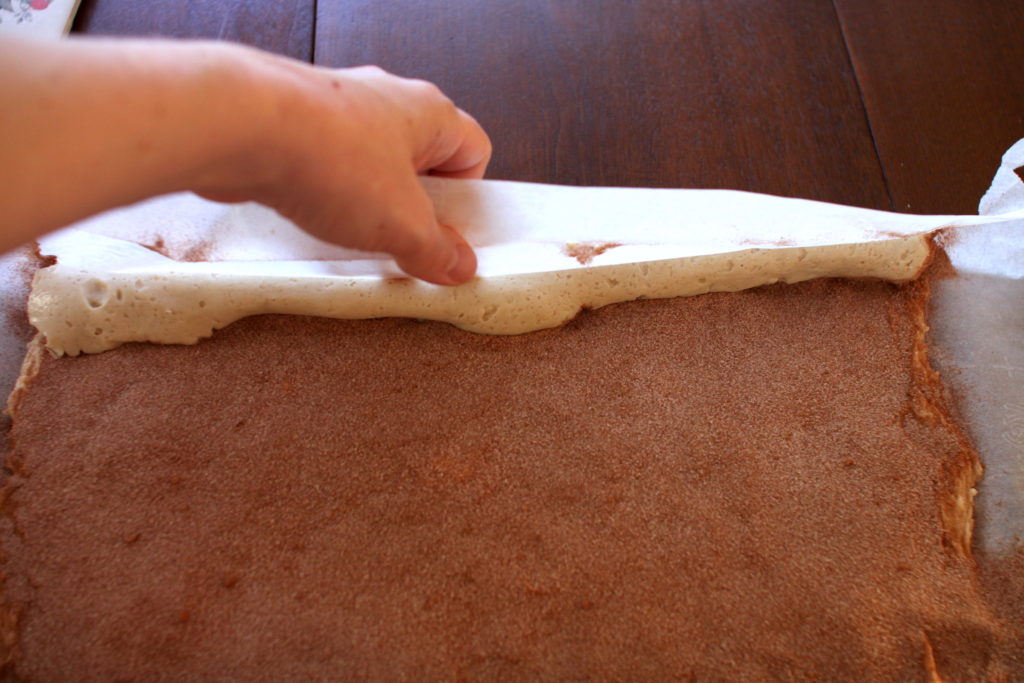
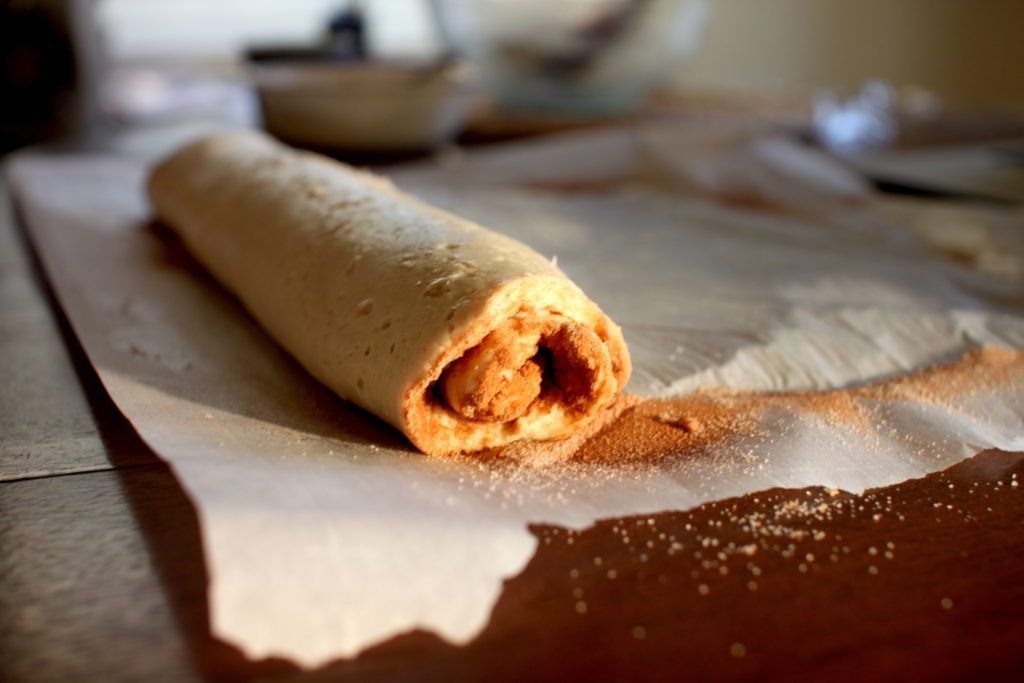
- Next, lift the parchment paper at the top of the rectangle and tightly roll the dough towards you until you reach the bottom and you have a nice big log. Gently press the seams of the log together. Using a sharp knife, cut the log crosswise into quarters. Be sure to slice the dough rather than saw. Wipe your knife off and/or oil with cooking spray in between cuts as necessary. Slice each quarter into thirds to create 12 rolls of roughly even size. Place rolls in prepared pie pan.
- Place rolls in the oven to rise, again placing a bowl of boiling water under your pan, for 30 minutes. When rolls have risen, remove water (leave the rolls) and preheat oven to 350ºF. Bake rolls 18-24 minutes (including pre-heat time), or until tops turn golden brown, rotating the pan 180 degrees halfway through.
- While rolls cool on a rack, make the icing: Combine cream cheese, powdered sugar and vanilla in medium mixing bowl and beat until smooth. (You can thin in out with a couple tablespoons of milk if you’d like.) Be sure to allow rolls to cool at least 20 minutes before icing. Spoon icing over rolls and serve warm.
Notes
This recipe was adapted from Iowa Girl Eats and Hello Gluten Free.